

Create and refine product images
Module 4. Your goal: Create two product-image variations, compare them against your brief, and choose one to animate.
Before you start
Section titled “Before you start”- Complete Module 3 and reopen your saved image workflow.
- Have the product brief and reference image you prepared earlier.
- Keep using Seedream 5.0 Pro so the model and workflow stay familiar.
You will keep the graph and change its instructions. This is how a reusable workflow adapts to a new creative task.
Prepare the reference and brief
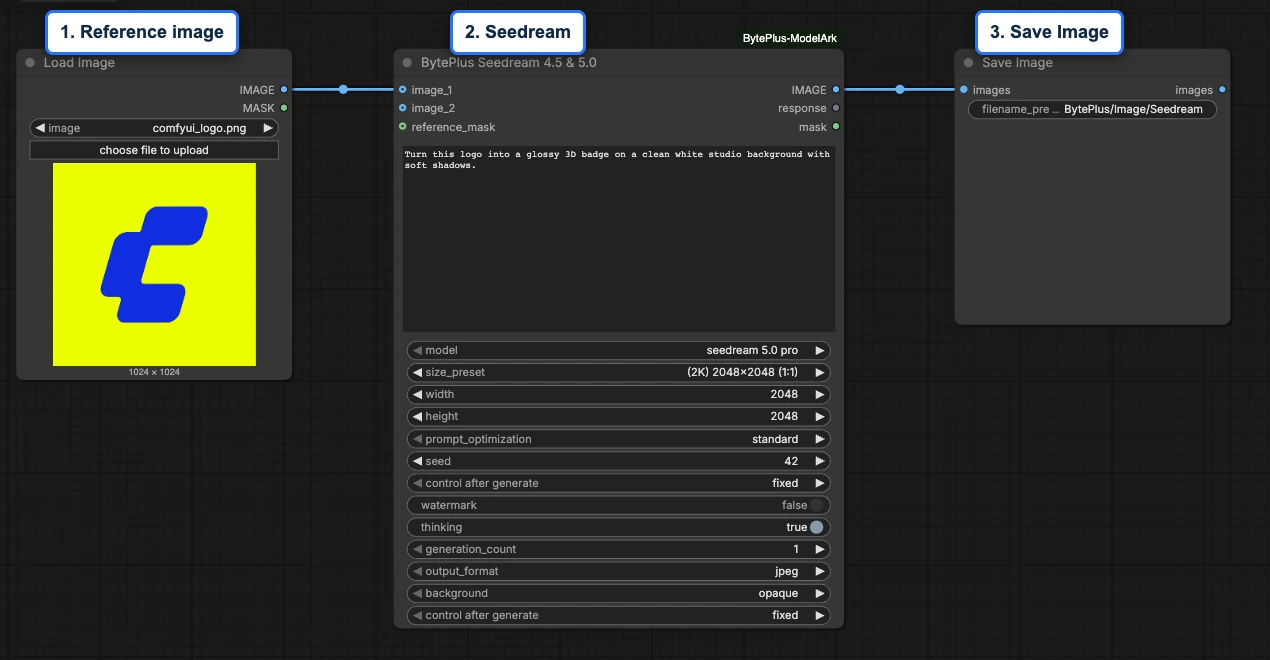
Section titled “Prepare the reference and brief”- Upload your original product image in Load Image. Keep its connection to Seedream’s
image_1input. - Compare two compositions: a centred product presentation versus clear headline space on the right. Use your brief to decide which fits better. Check the background and product details in both.
- Keep
(2K) 2048x2048 (1:1)selected for this comparison. - Find control after generate and choose
fixed. If your frontend shows this row twice, set both rows tofixed. Keep the same seed number, reference and model for both variations. Keepgeneration_countat1.
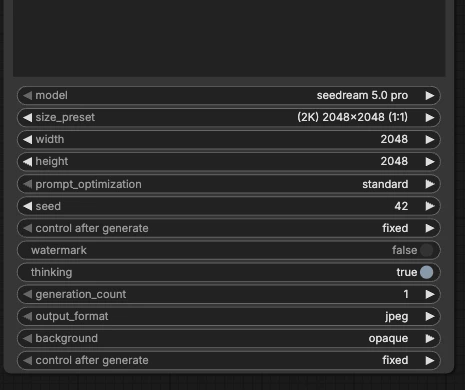
A seed is the number used for a generation. fixed stops ComfyUI changing that number after a run. It keeps one setting constant for your comparison; it does not guarantee identical results.
Create variation A
Section titled “Create variation A”Use a prompt that separates the details to keep from the changes you want:
Keep the product's shape, colour and label from the reference. Place the product in the centre of a clean white studio background with soft shadows. Do not add extra text or objects.Before running, set Save Image’s filename_prefix to Course/variation-A. Press Run, review the output and copy its file from output/Course into your course folder. Record the prompt as variation-A-prompt.txt. Instructions to preserve details are requests, not a guarantee.
Create variation B
Section titled “Create variation B”Change only the composition request. Keep the other generation settings unchanged:
Keep the product's shape, colour and label from the reference. Place the product on the left of a clean white studio background with soft shadows, leaving clear space on the right for advertising copy. Do not add extra text or objects.Change Save Image’s filename_prefix to Course/variation-B. Press Run, then copy its file from output/Course into your course folder. Record variation-B-prompt.txt. Changing this filename only labels the output; keep the model’s generation settings unchanged.
Open the two saved image files in separate image-viewer windows and place them side by side. Compare at the same zoom, then zoom in on the product shape and label. Match the filename beginning variation-A or variation-B to its prompt.
Review and select
Section titled “Review and select”Check each variation against the same questions:
- Are the product’s shape, colour and important label details still recognizable?
- Does the composition meet your selected requirement?
- Are there unwanted objects, distorted details or altered text?
Select the stronger image and explain your choice using visible evidence. If neither meets the brief, revise one prompt instruction and review another result.
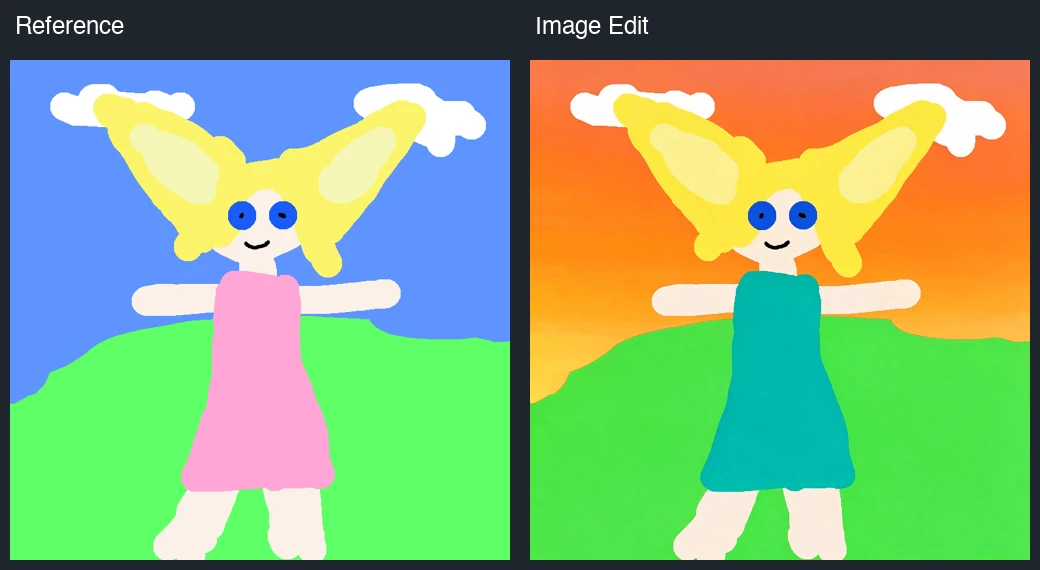
The Image Edit guide provides another worked example. It uses Seedream Flash; keep using your saved Pro workflow for this lesson. To compare that separate example, open Image Edit from Templates > ComfyUI-BytePlus-ModelArk.
- Template
- Image Edit, in the ComfyUI template browser under BytePlus
- BytePlus nodes
- Seedream 4.5 & 5.0
- Keys needed
- ModelArk API key
- Also uses
- Load Image, MarkdownNote, Save Image (built into ComfyUI)
Practice
Section titled “Practice”Use one requirement from your existing brief for this comparison. If you chose the logo-badge practice, replace “product” with “logo badge” in both prompts. Keep the two images, their prompts, and a short selection note.
Copy your chosen image as selected-image.png if its original file is PNG, or selected-image.jpg if it is JPEG. Do not change the extension to convert a file. Restore your chosen variation’s prompt in Seedream, then use Graph > Export to keep product-image-workflow.json with it. Restoring the prompt for export does not require another generation.
Completion check
Section titled “Completion check”- You changed one prompt requirement between the two variations.
- You can explain which image better meets the brief and why.
- You noted unwanted changes to product details or text.
- Your selected image and saved workflow are ready for the video lesson.
Next lesson
Section titled “Next lesson”Module 5: Turn an image into video.
Previous: Module 3: Understand and build a workflow.