

Turn an image into video
Module 5. Your goal: Turn the selected image from Module 4 into a short video. Review a 480p draft before rendering its 1080p final with Seedance 2.5.
Before you start
Section titled “Before you start”- Complete Module 4 and keep the selected image.
- Confirm access to Seedance 2.5 in the region of your saved ModelArk key.
- Use the Image to Draft to 1080p template for this lesson.
This template is included with the node pack. Open it from ComfyUI’s Templates sidebar.
- Template
- Image to Draft to 1080p, in the ComfyUI template browser under BytePlus
- BytePlus nodes
- Seedance 2.5 Reference to Video, Seedance 2.5 Draft to Final Video
- Keys needed
- ModelArk API key
- Also uses
- Load Image, MarkdownNote, Save Video (built into ComfyUI)
Understand the two stages
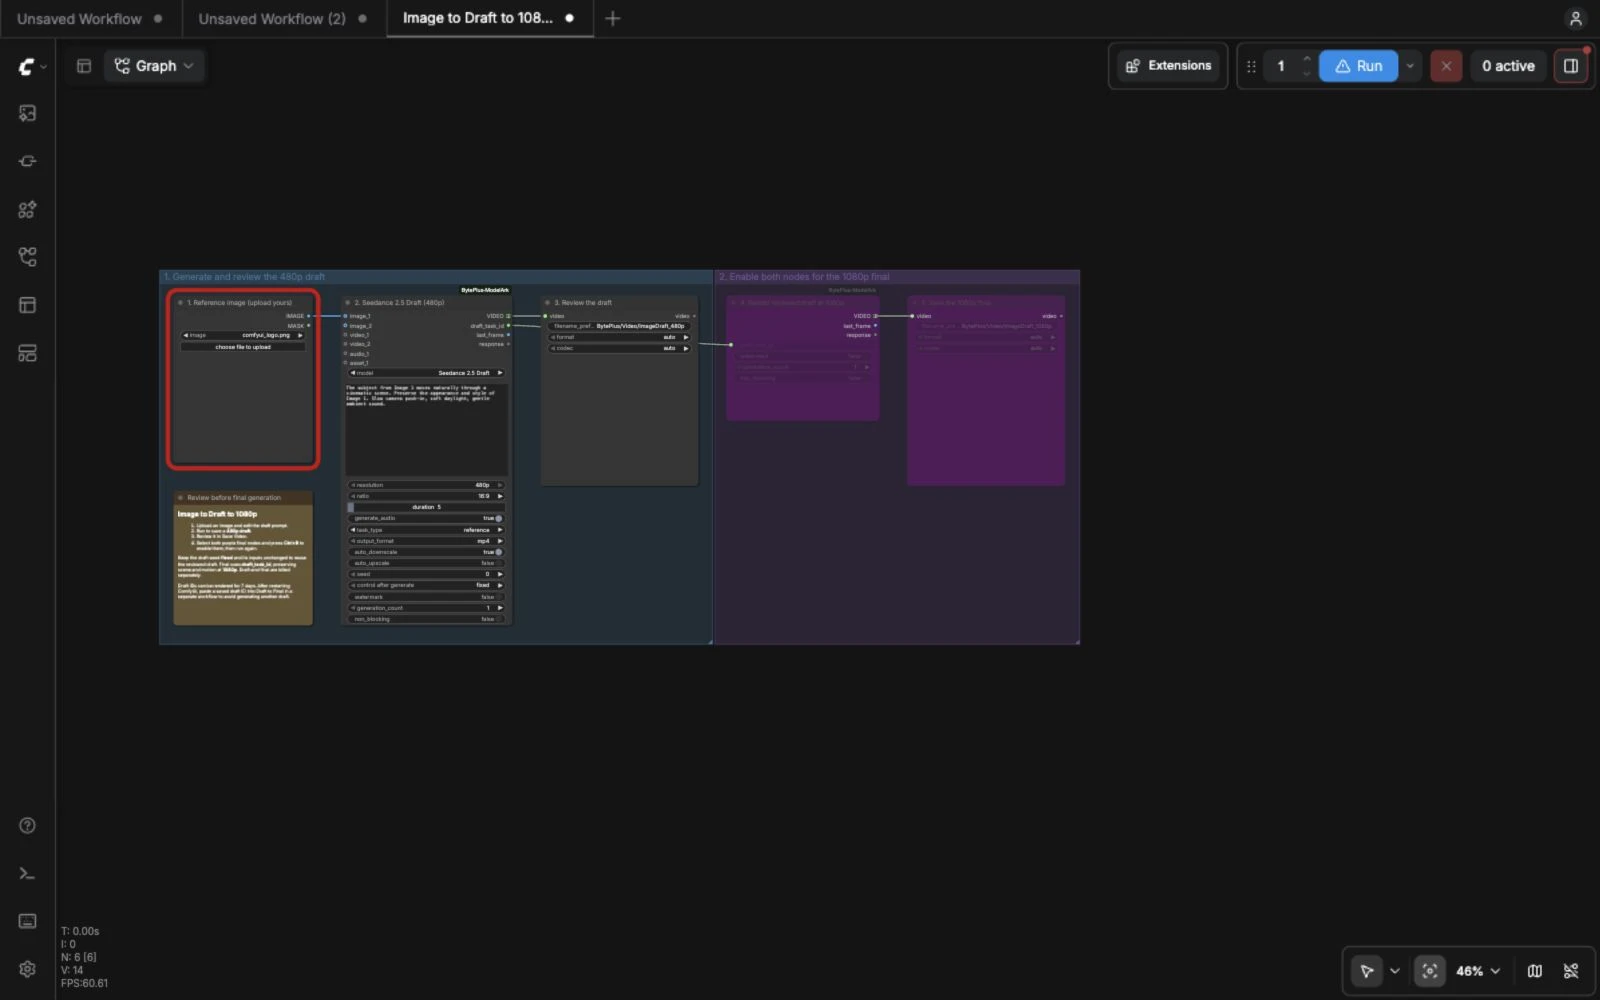
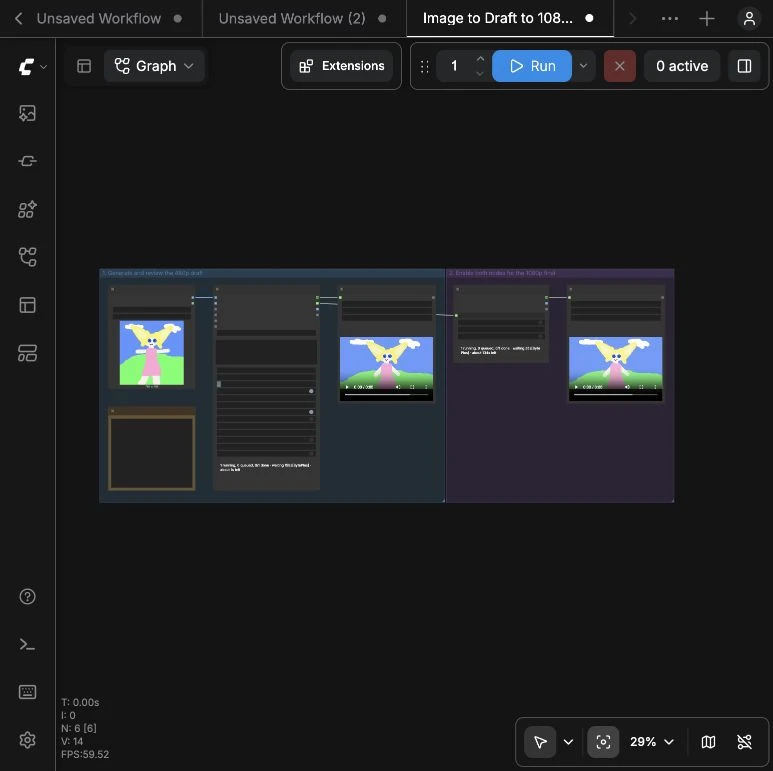
Section titled “Understand the two stages”Stage 1: Load Image supplies the reference to Seedance 2.5 Draft. The first Save Video node saves the 480p preview.
Stage 2: Draft to Final receives the draft’s draft_task_id and produces the 1080p video. The second Save Video node saves the final.
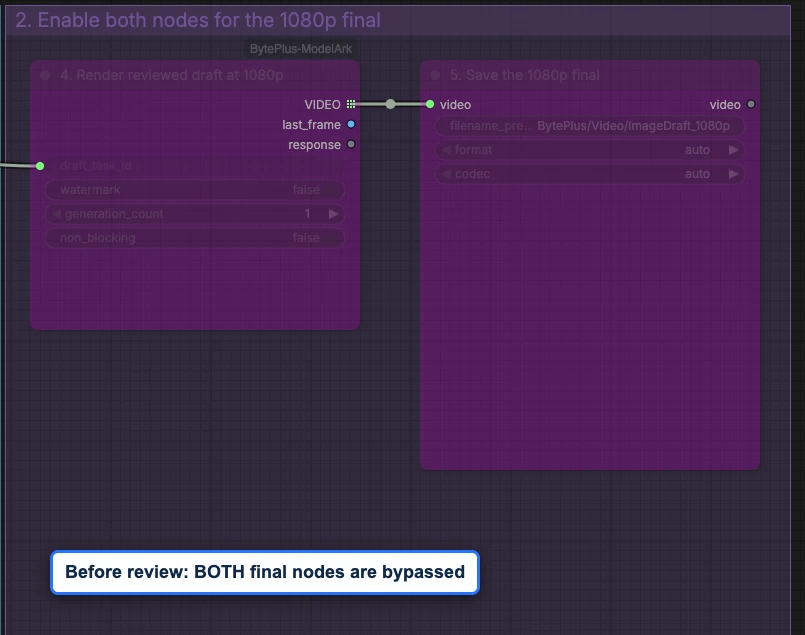
A bypassed node is skipped. The template starts with both final-stage nodes bypassed, so you can review the draft first.
Prepare your shot
Section titled “Prepare your shot”- Open Templates in the left sidebar, look under ComfyUI-BytePlus-ModelArk, and open Image to Draft to 1080p.
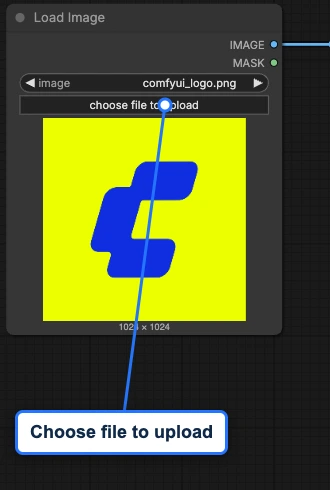
- In Load Image, press choose file to upload and select the generated image you kept in Module 4, not the original product photo. Check its preview.
- Keep Seedance 2.5 Draft, 480p, 16:9 and 5 seconds selected.
- Keep every control after generate row on
fixed. Leave Draft to Final and its Save Video node bypassed. - Edit the draft prompt. Refer to your reference as Image 1, then describe the motion and camera movement you want.
Try this starting prompt:
Use the product in Image 1 as the subject. Keep the product stationary on the studio surface while the camera makes a slow, smooth push-in. Preserve its appearance and keep the lighting soft. Do not add extra objects or text.The prompt guides the result; inspect product details rather than assuming they are preserved exactly.
Run and review the 480p draft
Section titled “Run and review the 480p draft”Press Run and wait for the draft in the first Save Video node. Watch the whole clip.
Use the video’s play control to watch from beginning to end. The template saves the file in output/BytePlus/Video, with a filename beginning ImageDraft_480p. Copy it into your course folder before moving on.
- Is the product recognizable throughout?
- Does the camera follow the requested motion?
- Are there visible distortions, unwanted objects or changed text?
If you need another draft, keep both final-stage nodes bypassed. Change the prompt, image or seed deliberately, then run and review again.
Render the 1080p final
Section titled “Render the 1080p final”- Once you choose a draft, keep its image, prompt, settings and fixed seed unchanged. Stay in the same ComfyUI session.
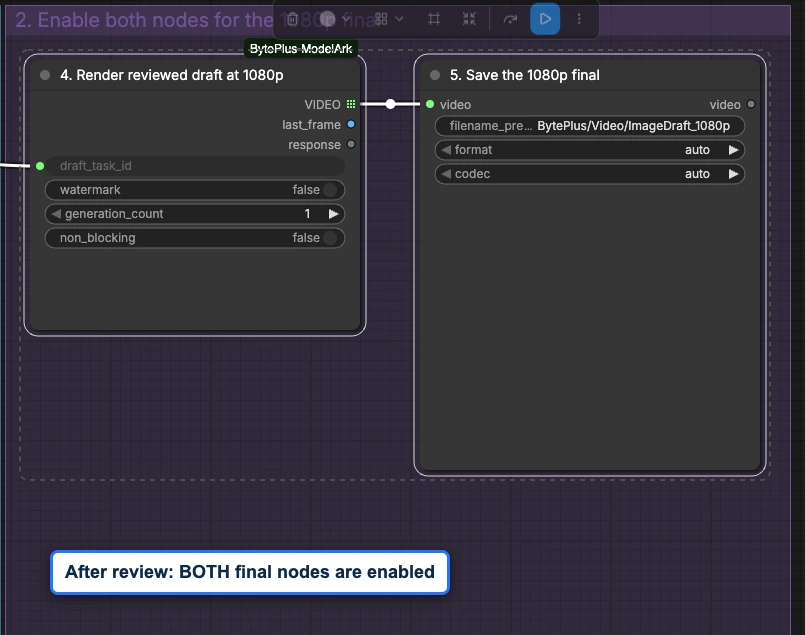
- Click the header 4. Render reviewed draft at 1080p. Hold Shift, click 5. Save the 1080p final, then release Shift. Both nodes should have selection outlines.
- With the canvas focused, press Ctrl+B to enable both selected nodes. This is Control, not Command, on macOS. Both nodes should lose their bypass tint; the purple background group can remain.
- Press Run again. The unchanged draft is reused from ComfyUI’s cache, and its connected
draft_task_idgoes to the final stage. - Review the final in the second Save Video node. Copy its file from
output/BytePlus/Video, with a filename beginningImageDraft_1080p, into your course folder.
If your shortcuts are customized, open Shortcuts in the sidebar and look up the bypass command. Check the visible node state before running.
The final renders the reviewed draft at 1080p; do not switch the draft node to a regular video model or a new resolution. Before changing the shot again, bypass both final-stage nodes.
The cache is ComfyUI’s temporary memory of an unchanged node’s result. Keep ComfyUI running between draft review and final generation. Restarting clears that memory; reopening a JSON does not restore it. The draft-mode reference explains rendering a saved draft ID in a separate workflow.
In your project note, record the reviewed draft and final filenames, motion prompt and seed. State that you rendered the final in the same session, with the draft inputs unchanged and draft_task_id connected to Draft to Final. Filenames alone do not establish that two clips belong together.
Recording a draft task ID is optional for later recovery, not a course requirement. The draft-mode reference above covers that separate workflow. Keep any recorded ID private. After completing the shot, bypass both final nodes again before exporting the workflow for reuse.
Practice
Section titled “Practice”Keep the selected 480p draft, its 1080p final and the workflow JSON together. Use Graph > Export for the JSON, following Module 3. Compare product details and motion in the two clips, and note differences from your input image.
Open the final video’s file properties or media-player information and confirm 1920 x 1080 for this lesson’s 16:9 shot. A filename containing “1080p” is not proof of its dimensions.
Completion check
Section titled “Completion check”- You reviewed a 480p draft before enabling the final stage.
- The saved graph keeps the
draft_task_idconnection, and your note records which reviewed draft you rendered without changing its inputs. - Both videos are saved and the final is 1080p.
- You can explain the role of each Save Video node and the draft-to-final connection.
Next lesson
Section titled “Next lesson”Previous: Module 4: Create and refine product images.